
Inside this Article
Researching Your Fashion Blog Niche & CompetitorsChoosing a Fitting Name & Domain for Your Fashion BlogSelecting the Right Host for Your Fashion BlogInstalling WordPress and Setting Up Your Fashion BlogSetting up and Customizing the Most Relevant PagesRevise, Test, and Publish Your Fashion BlogPromote Your Fashion Blog and Build Your AudienceAn Easier Alternative for Getting Your Fashion Blog OnlineCreate Your Stunning Fashion Blog TodayFAQ
Researching Your Fashion Blog Niche & Competitors
Before diving into your fashion blog, thorough research will set the stage for long-term success. Here’s how to find your niche and set yourself apart.Define Your Purpose
Start by asking yourself, “Why am I creating this blog?” Is it to share your personal style, review trends, or build a business? Knowing your purpose shapes your content and helps you stay focused.
Find Your Unique Selling Point (USP)
“What sets my fashion blog apart?” Niche blogs attract dedicated audiences and stand out in a crowded market. Focus on a specific angle like sustainable fashion, vintage finds, or street style. You can also combine other topics you’re passionate and knowledgeable about – such as parenting, lifestyle, travel, cooking, or hosting – into your fashion blog to create a unique niche.
Understand Your Audience
“Who am I writing for?” Young professionals, sustainable fashion enthusiasts, or luxury shoppers? Analyze subreddits, fashion Facebook groups, or other relevant communities to see what topics and questions interest them.Analyze the Competition
“What are my competitors doing?” Check out successful blogs in your niche. Look at their content, design, and engagement levels. Note gaps you could fill – maybe they lack in-depth reviews or budget-friendly tips – and adapt their winning strategies to your own blog.Plan and Budget
“How much time and money do I have to invest on building my blog?” Outline your first few blog posts and set a realistic budget. This financial and organizational roadmap will keep you organized and on track.Choosing a Fitting Name & Domain for Your Fashion Blog
A domain name is the unique web address of your site – like www.yourfashionblog.com. Think of it as your online “street address,” helping people find you on the internet. For a fashion blog, your domain name is a crucial part of your brand identity, so it’s important to choose wisely!
Tips for Picking the Right Name for Your Fashion Blog:
Your domain name should reflect your blog’s personality, niche, and style:- Keep it simple. Choose a name that’s short, memorable, and easy to spell.
- Match your theme. Ensure the name reflects your blog’s focus, whether it’s streetwear, vintage fashion, or sustainable style.
- Incorporate fashion-related terms. Words like “style,” “trends,” “couture,” or “threads” can instantly convey your blog’s purpose.
- Avoid unnecessary complexity. Steer clear of numbers or excessive punctuation, as these can confuse readers and make your blog harder to find.
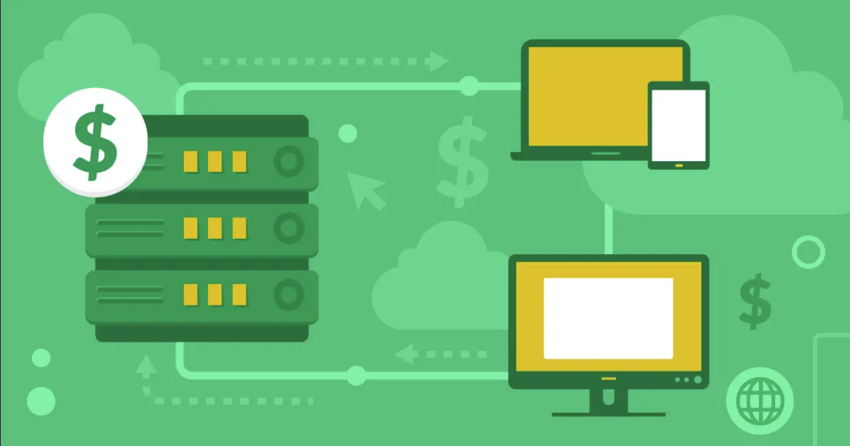
Understanding the Associated Costs of Running a Blog
A domain name is usually a separate cost from web hosting, but hosts like Hostinger offer a free domain with select hosting plans. This bonus is a great way to reduce your initial investment while you’re getting started. With such offers, keep in mind that the domain might only be free for the first year. After that, you’ll likely need to pay annually.Tools To Help You Decide on a Name
Need inspiration? Many domain registrars offer domain name generators that allow you to enter keywords to generate creative domains for your blog. They’re useful for brainstorming and finding a catchy, unique name that will make your fashion blog stand out.Selecting the Right Host for Your Fashion Blog
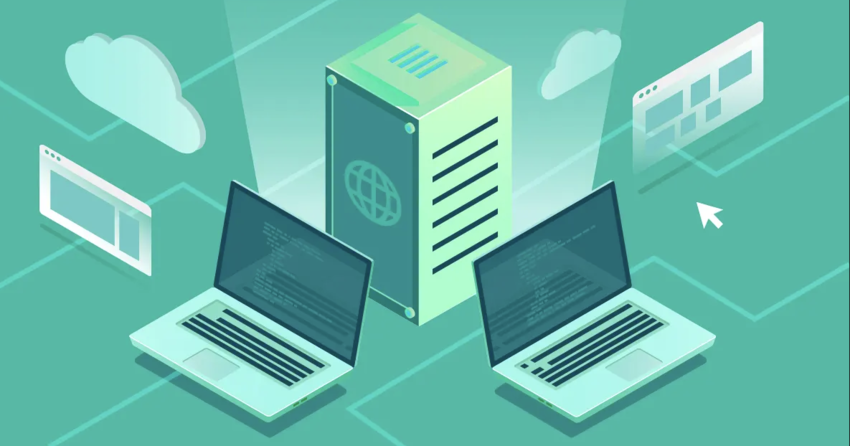
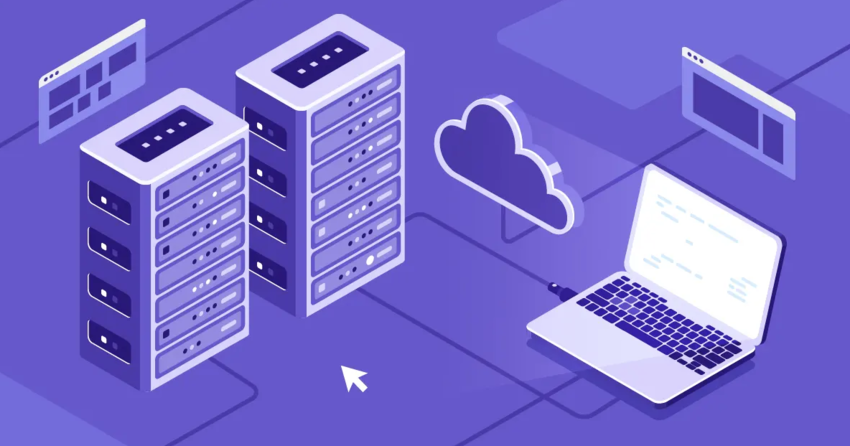
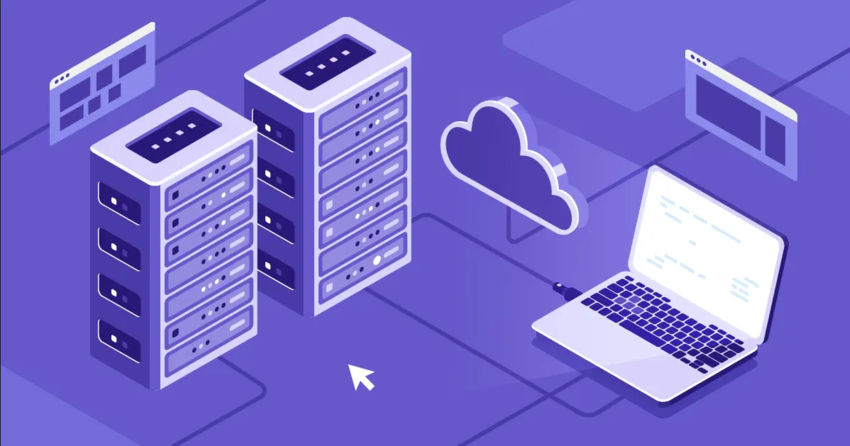
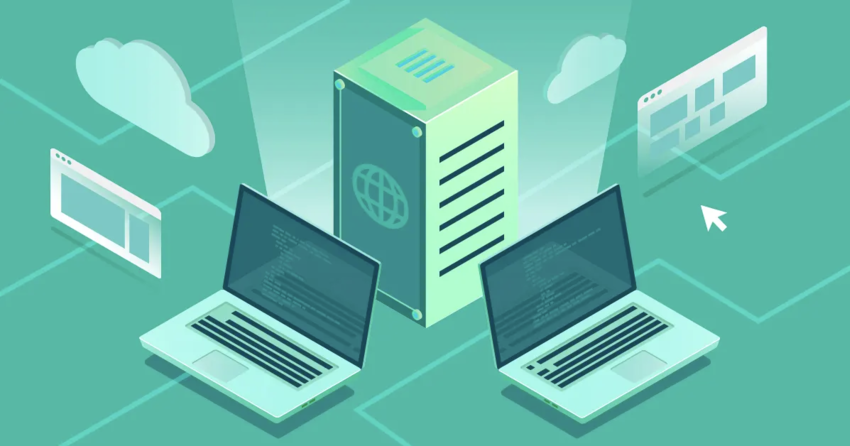
Web hosting is a service that allows your website to be accessible on the internet. Think of it as renting space on a server where your blog’s files, images, and content are stored so your visitors can access them 24/7. Without hosting, your fashion blog wouldn’t be visible to anyone online. When selecting a web host for a fashion blog, prioritize features that make your life easier. Look for one-click WordPress installs and a user-friendly control panel. Performance is crucial, too – fashion blogs often feature high-res images that can make your blog load slower. Security features like SSLs and automated backups are also important to protect your content. Some premium hosting services can be expensive. However, after testing dozens of hosts, my team and I found that you don’t need to break the bank to get a fast, reliable hosting service. Hostinger is an excellent choice for beginners starting a fashion blog. It offers affordable plans packed with features like a beginner-friendly control panel, one-click WordPress installation, and built-in optimization tools. Plus, Hostinger provides free SSL certificates and a free domain for the first year, adding great value.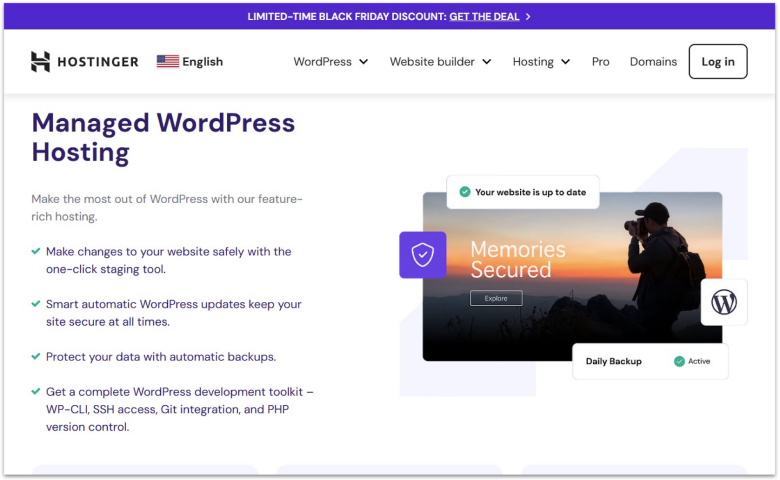
Installing WordPress and Setting Up Your Fashion Blog
It’s now time to create your fashion blog, and WordPress is my recommended method of doing so. For this step, I’ll show you how to install WordPress in Hostinger’s hPanel control panel. Setting up WordPress with Hostinger is straightforward, and the steps are similar across most other hosting providers, especially if they offer one-click WordPress installs.- Start by logging into hPanel and navigating to the Websites section in the dashboard.
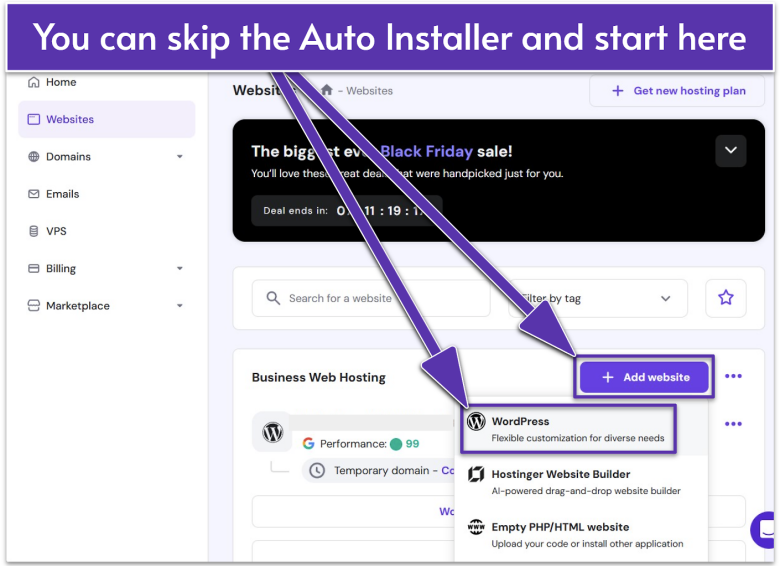
![Websites menu on Hostinger's hPanel]()
Hostinger offers easy WordPress installation in its dashboard - Click the + Add website button and select WordPress from the drop-down menu.
- Follow the prompts to configure your website details, such as website type and WordPress Admin login credentials.
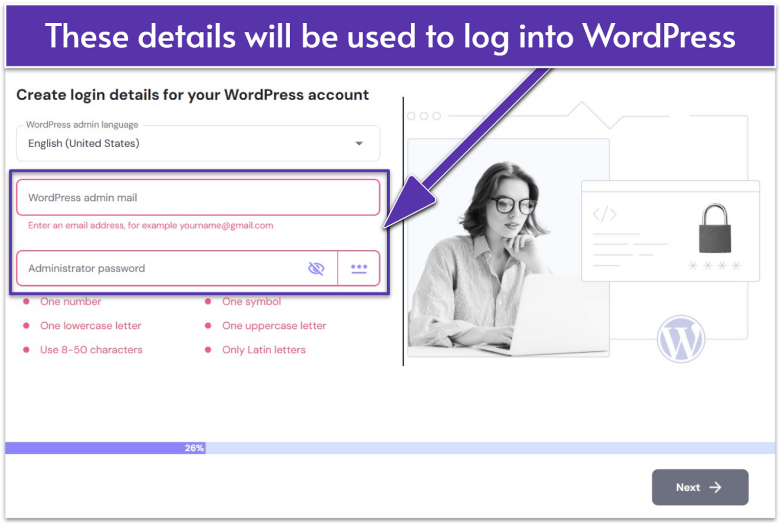
![Creation of WordPress login details on Hostinger's hPanel]()
You don’t need to note down your WordPress Admin details, as Hostinger will save them - Afterward, you can choose to use the AI Hostinger builder or pre-built website templates and themes to create your site. However, I advise you to click on Create blank site if you want to try out a third-party WordPress website builder plugin or theme. This step ensures no conflicts or file corruption happens between any templates, plugins, or themes that you add.
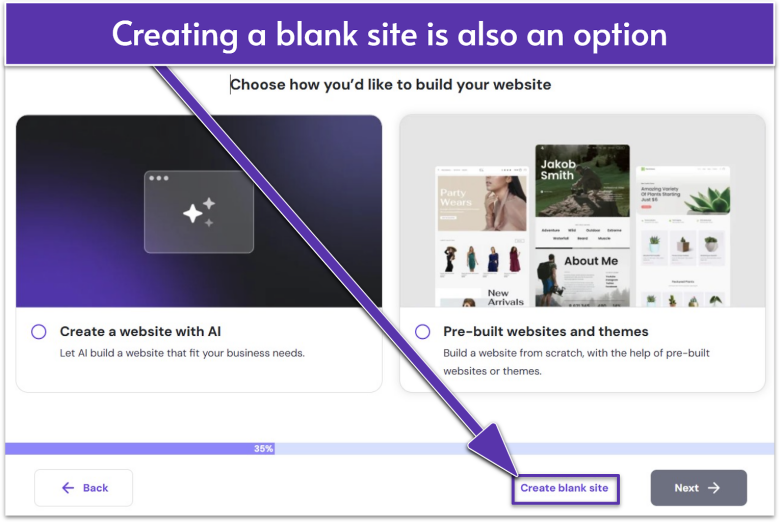
![Options on building a WordPress site with Hostinger's hPanel]()
If you have a theme, template, or website builder in mind, choose a blank site to avoid conflicts - Next, you’ll need to add a domain. Hostinger’s annual or longer-term plans come with a free domain. Alternatively, you can purchase a domain or link an existing domain you own during this step. If you haven’t decided on your domain name yet, you can also opt to use a temporary one for now.
- After completing the setup process, WordPress will be installed, and you will be able to access the WordPress Admin panel through hPanel.
Choosing a WordPress Builder and Theme
With WordPress, you have a wide range of website builder plugins and themes to choose from. While most cost nothing to download and offer free tools, many lock premium editing features to paid plans. However, there are still enough free options to create a website easily. For my fashion blog, I chose the OceanWP theme, which includes many free site templates and tools. But you might be asking… “What’s the difference between a WordPress theme and a website builder plugin?” Themes are the backbone of your WordPress site. Every WordPress site has a theme, and some themes even include templates and editing tools. In comparison, website builder plugins are an optional tool that may also include templates and a site editor for further modifying your theme. The process for adding a theme like OceanWP is simple:- First, log into WordPress.
- Then, go to Appearance > Themes just above Plugins in the left-hand menu.
- On the Theme page, click on the Add New Theme button in the top-left corner.
- In the search bar, type “OceanWP” or another theme you want to install. You can also browse theme options by the latest or most popular categories.
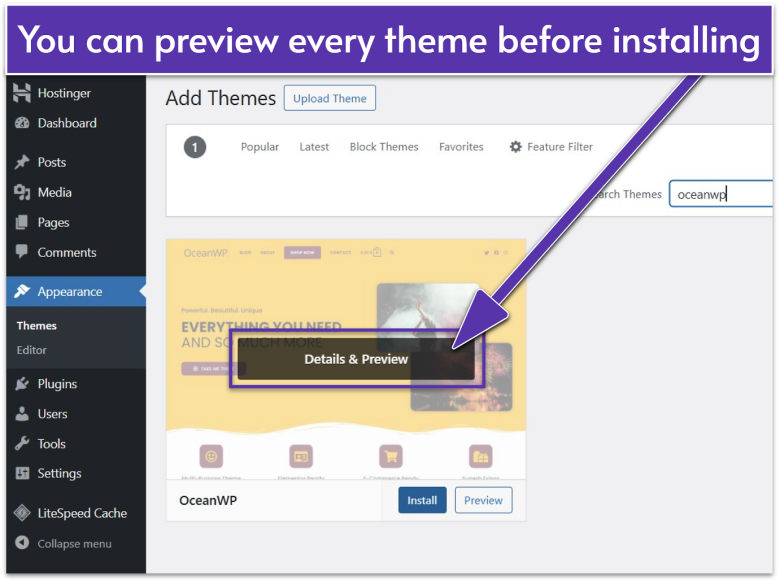
![WordPress Themes menu]()
If you’re unsure which WordPress theme you want to use, preview it first - Hover over your theme of choice and click Install. You can even preview the theme before or after. However, do note that once you install a theme, it will override any template or website you’ve built so far using another plugin or theme. This is why it’s best to create a blank site if you wish to use a third-party theme or plugin.
- Once the Installed button shows (with the green tick mark), you can rest assured that your chosen theme has been successfully applied to your site.
- You can now choose a template and install a website builder plugin to edit it. OceanWP actually recommends using the Elementor website builder plugin to edit OceanWP site templates, which are called demos.
Installing a Template With OceanWP:
- To install an OceanWP website template (demo), you need to navigate to the OceanWP menu in the left-hand WordPress menu. But first, I advise browsing the available demos on the OceanWP site because you need to know the demo name to find it in WordPress.
- Once in the OceanWP menu in WordPress, scroll down to the OceanWP Panel and click Install Demo (third option on the list), which will open a new menu on the same page.
- Scroll down and ensure the big blue button is toggled on under the Install Demos heading.
- Scroll even further down and type your desired demo name in the Search demos bar. If you have a paid OceanWP plan, you can install any demo. However, free users still have access to some demos, including a fashion blog one called Stylish, which is what I chose.
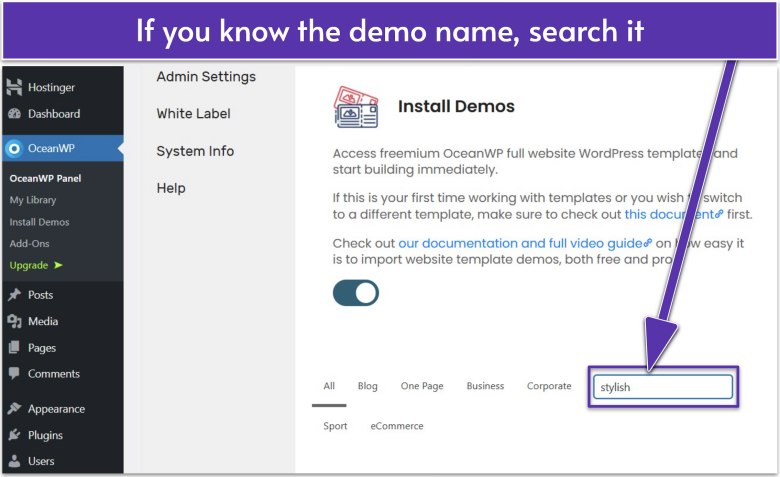
![OceanWP Panel on WordPress]()
OceanWP lets you search its Demo templates in its WordPress Admin menu - You can now import or preview the demo site. To install it, click Import.
- A pop-up menu will appear asking you to add crucial plugins: Ocean Extra, Elementor, WPForms (all free), and Ocean Sticky Header (a paid plugin). I advise you to add Ocean Extra, Elementor, and WPForms if you are using a free demo template. If you have a paid subscription and are using a premium template, add the Ocean Sticky Header plugin too. These plugins ensure your demo site displays properly in the editor.
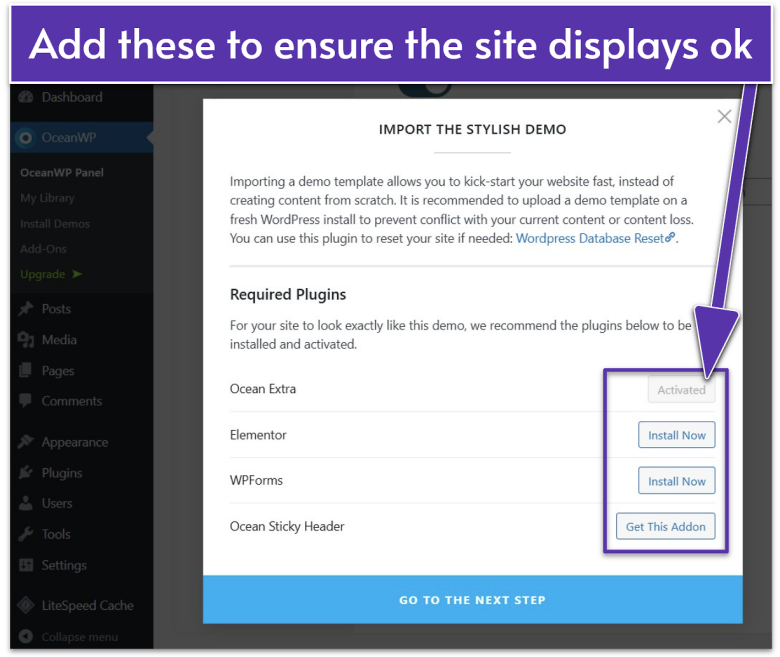
![List of required plugins for the Stylish demo on OceanWP]()
Templates often rely on additional WordPress plugins - You also want to import all settings in the following pop-up, including XML data, Customizer Settings, Widgets, and Contact Form.
- Click INSTALL THIS DEMO.
- Now, wait for everything to be installed. You will see the Demo Imported! pop-up when it is installed, and you can start editing your site. But do note that it does take a while (around 10 minutes for me) to install. Try not to mess with or reload the page in the meantime.
- Next, navigate to Pages > All Pages in the left-hand WordPress menu.
- Under the page titled Home — Frontpage, Elementor, click the Edit with Elementor button. This will open your OceanWP demo in the Elementor editor.
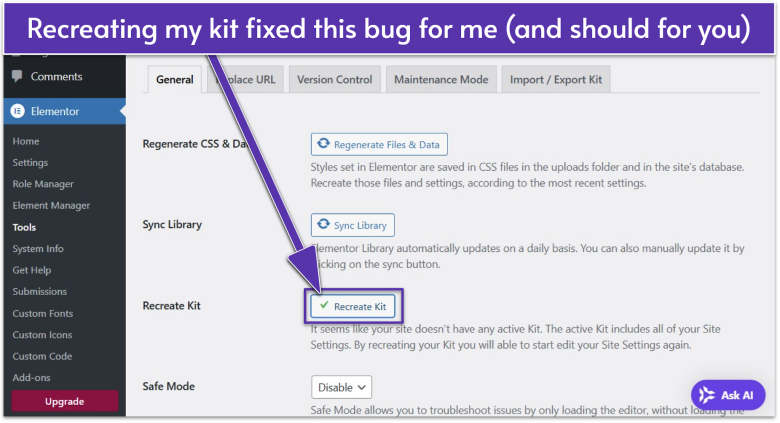
![Elementor General settings]()
I had minor issues loading the OceanWP Demo template in Elementor - If you see a pop-up that says, “Your site doesn’t have a default kit,” click the Recreate Kit button. Then, under the General tab, click the Regenerate Kit button next to the Recreate Kit heading (third option down above). After the button changes to Recreate Kit (with a green tick, as pictured), you should be able to edit your OceanWP demo site in Elementor starting from step 10.
Consider These Useful (Free) Plugins
You can add various WordPress plugins to your site. The following free WordPress plugins are particularly useful for fashion blogs:- WordPress Editorial Calendar. The perfect 100% free plugin to help you manage and schedule your fashion blog posts.
- Public Post Preview. A free plugin that allows you to share a link to unpublished posts with your fashion blog collaborators and partners, allowing them to be able to review the content. For example, fashion brands you may be featuring clothing from in a sponsored post may wish to see the content before publication.
- Rank Math SEO. A highly-rated WordPress plugin for optimizing your site for search engines. It offers free and paid tiers, but even just the free tier includes key SEO optimizations that every website owner should configure.
- Smash Balloon Social Photo Feed. The perfect free plugin for integrating your Instagram page with your website. This plugin is 100% free (no paid tiers, all features accessible) and can be used to embed your updated IG feed anywhere on your site.
Setting up and Customizing the Most Relevant Pages
A successful fashion blog typically starts with a few core pages:- Homepage. Your blog’s first impression. Highlight featured posts, recent updates, and include a clear call-to-action (CTA), like signing up for a newsletter.
- About Me. Introduce yourself to readers by sharing your story, style influences, and the blog’s mission. This personal touch helps build a connection.
- Blog or Articles page. The core of your site. Organize your posts into categories based on styles, trends, or seasonal themes to make navigation simple for visitors.
- Contact page. A must-have for collaborations and reader engagement. Include social media links to make it easy for readers to connect with you.
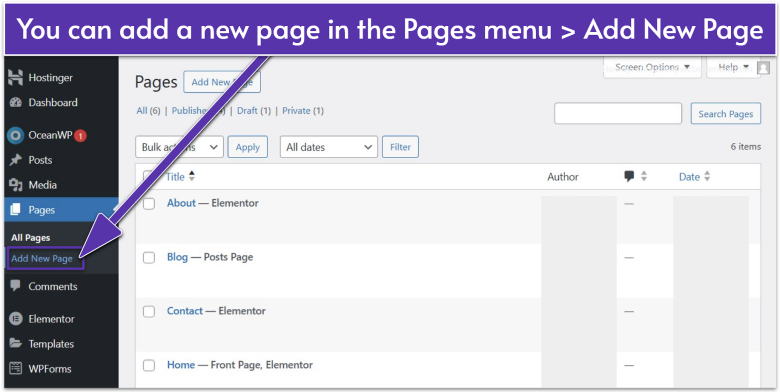
![WordPress Pages menu]()
The WordPress Admin dash makes it easy to add new site pages
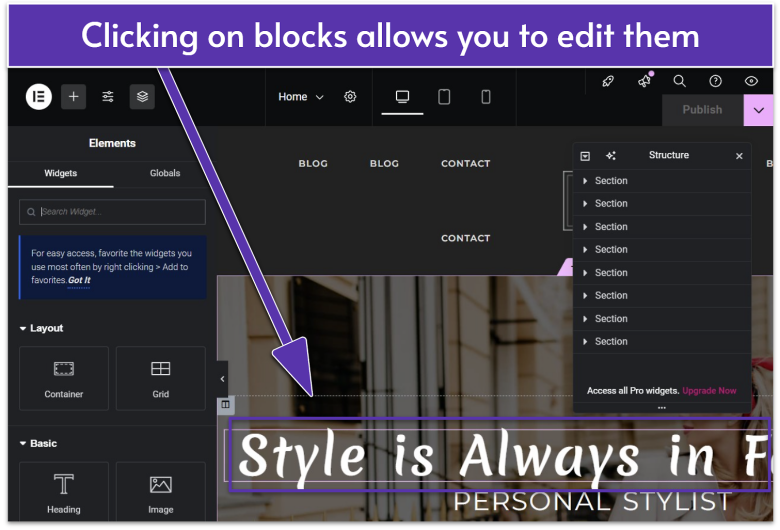
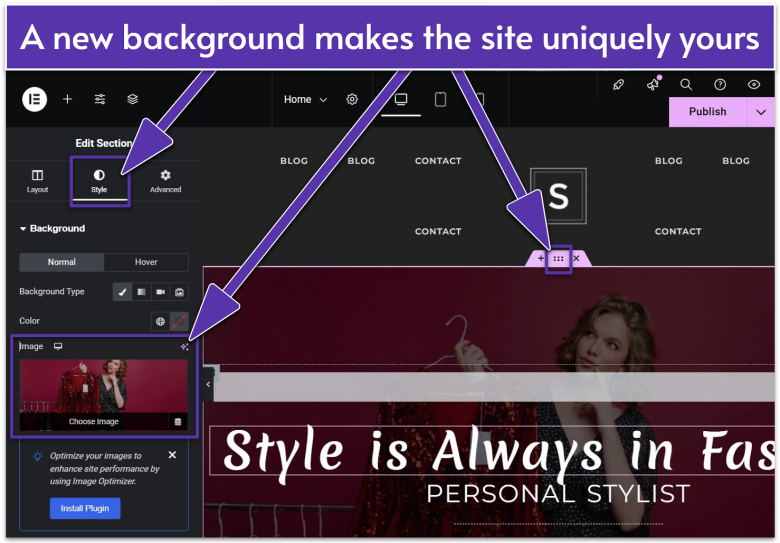
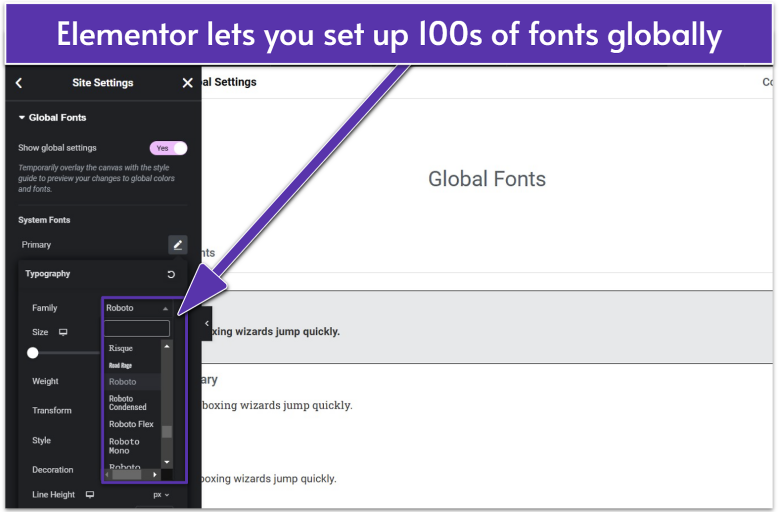
Practical Website Customization Tips For Elementor
Editing Blocks
Changing Your Template Background & Images
Changing Your Fashion Blog Site Fonts
Website Design Tips:
- Select a theme that reflects your fashion aesthetic.
- Choose a clean, responsive design to ensure a good user experience on all devices.
- Fashion is visual, so invest time in selecting and editing high-quality photos.
- Organize content with plenty of white space and clear headings to guide readers.
- Ensure navigation is intuitive. A well-structured layout will keep visitors exploring longer.
Tips for Crafting Engaging Content:
- Write in a conversational tone to connect with your audience.
- Craft compelling headlines that pique curiosity.
- Open posts with a hook – a question or bold statement.
- Balance text with visuals.
- Keep paragraphs short for readability.
- Add value by offering unique insights or styling tips.
- Encourage engagement by ending posts by inviting readers to share their thoughts.
- Finally, content is king, but in fashion blogging, presentation matters, too.
Start Small, Then Grow
You don’t need a fully fleshed-out site to launch – starting with these core pages is perfectly fine. Once your basic structure is live, you can gradually add more sections like lookbooks, reviews, or even a shop.Revise, Test, and Publish Your Fashion Blog
Before hitting Publish, it’s essential to revise and thoroughly test everything on your fashion blog to ensure it works properly:- Start by ensuring that your site is responsive. Review all of your content to make sure all text, images, and videos are properly displayed on both desktop and mobile screens. With mobile traffic making up a large portion of website visits, this step is key.
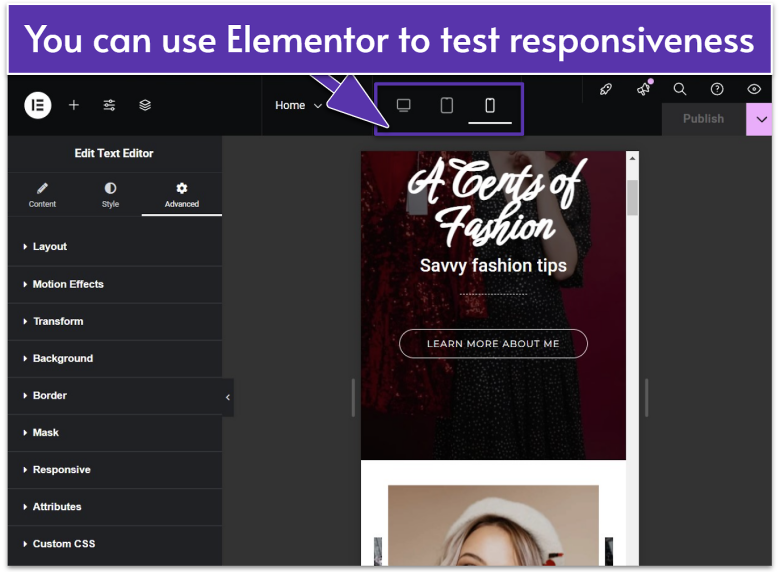
![A mobile phone preview of an Elementor website]()
The Elementor editor lets you see how your blog appears on PC, tablet, and mobile - Test each page to check for any display issues, such as broken images or text that doesn’t align correctly.
- If your blog includes e-commerce features, test them out, as well. Ensure that product and affiliate links work, checkout processes are smooth, and any booking or scheduling processes are fully functional.
- Test all interactive elements like buttons, links, and forms. Ensure they’re easy to click and direct users where they need to go.
- Additionally, you might want to run a speed test to check how quickly your site loads, as slow loading times can drive potential visitors away. Use a free tool like Google PageSpeed Insights or GTmetrix.
- If your site is slow, consider optimizing it, including reducing image sizes, reducing the number of plugins, and using caching tools to improve load times. Installing and enabling a CDN can also significantly improve load times.
Promote Your Fashion Blog and Build Your Audience
Once your fashion blog is live, promoting it effectively will help you attract readers and grow your influence. By planning your strategy in advance and using the right tools, you’ll set yourself up for sustainable growth and success!
Here’s how to tailor your promotion plan to grow your audience, revenue, reach, and more:
Leverage Social Media
For visually-driven niches like fashion, social media is a powerful tool. Platforms like Instagram, Pinterest, and TikTok are perfect for showcasing outfits, trends, and styling tips. A well-managed social media presence can drive traffic directly to your blog. To stay organized, consider using a social media management tool to schedule posts and track engagement.Start an Email Marketing Campaign
Building an email list allows you to connect directly with your audience and keep them updated on new posts, special features, or exclusive content. For growing fashion blogs, email marketing can be a game-changer. View our top email marketing tools to find services that make it easy to create professional newsletters.Get Expert Help When You Need It
If promoting your site feels overwhelming, hiring a freelancer might be the solution. Many experts offer affordable services to help build and promote blogs, allowing you to focus on creating content. Browse our recommended freelance websites to find skilled professionals who can take this task off your plate.An Easier Alternative for Getting Your Fashion Blog Online
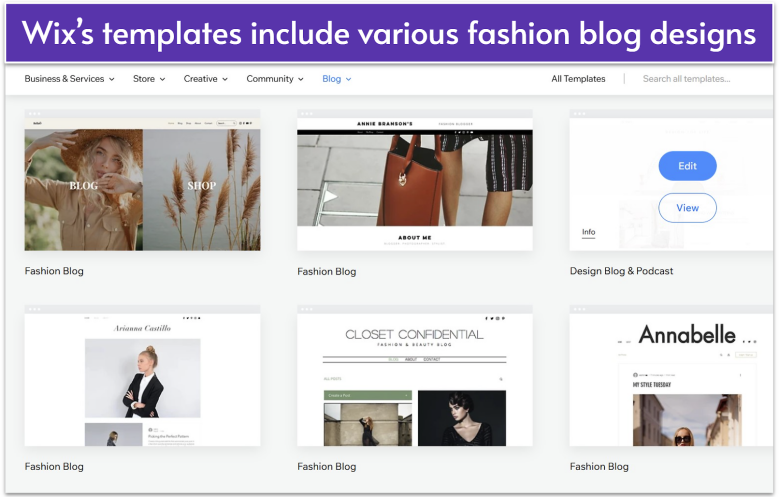
If managing domains, hosting, and plugins feels intimidating, a SaaS (software as a service) website builder might be the perfect solution for you. These platforms take care of all the technical aspects of design, giving you everything you need – a custom domain, hosting, and advanced, premium, user-friendly design tools – in one neat package. Plus, with their intuitive drag-and-drop editors, building your fashion blog becomes hassle-free.
Out of all the SaaS website builder options, Wix stands out as an excellent builder for fashion bloggers. It offers a range of stunning fashion blog templates designed to showcase your content beautifully. You can easily customize these templates to reflect your personal style – no coding required. You can even generate a custom design with Wix’s AI ADI (Artificial Design Intelligence) builder or manually by using the Wix Editor.